Opening an above ground pool doesn’t have to be complicated. Sure you could pay someone to do it for you, or you could save your money and follow these steps. And once you know the process, you will easily be able to open your above ground swimming pool for the summer. So let’s dive in – well after you’ve followed all the steps!
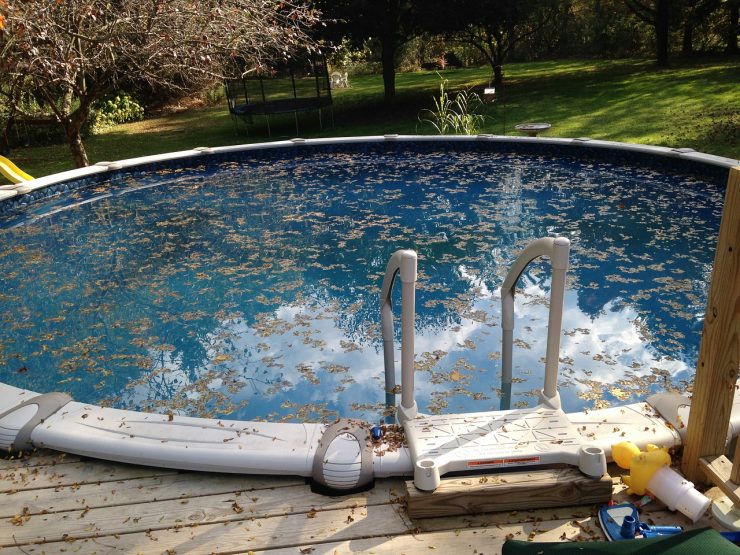
If you have an inground pool, head over to our article How To Open An Inground Swimming Pool In 8 Steps.
Article Contents
Step 1. Remove Debris And Water From The Swimming Pool Cover
Whether you used a winterized pool cover or pool safety cover for the winter, there will be a build-up of winter debris and stagnant water sitting on top of the cover. This will need to be cleaned and removed by first draining the water and then cleaning the cover.
Use a pool brush to shift any soggy debris from the cover and a pool scoop net to remove it. Be careful not to use a sharp tool here, such as as a metal rake, and risk damaging your cover.
The easiest way to remove the build-up of water is to use a submersible pool cover pump or a sump pump. Otherwise, you can empty the water using a bucket. One… slow…bucket… at a time.
Taking the time now to follow this process will help to prevent unnecessary dirt from entering your pool when you remove the cover from the pool. And this will mean less time cleaning the pool water.
Step 2. Remove The Pool Cover
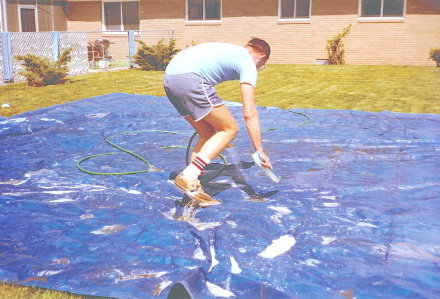
Carefully remove the cover from the pool. You might enlist a family member or friend to assist you to minimize the remaining leaves and dirt from entering the pool.
Lay the pool cover out somewhere with enough room to spread it out so you can gently clean it. Use a garden hose and a mild detergent along with your pool brush to clean off the dirt from the pool cover.
Allow the pool cover to dry completely before storing it away for the summer season.
You might consider sealing the cover in a large weatherproof storage box to ensure it is safely stored and there are no nasty insect or rodent nest surprises when you go to use it again!
Step 3. Check The Pool For Leaks And Cracks
Now it’s time to check your pool and pool equipment for any damage during the winter months.
Check for leaks or cracks to the pool lining.
If you find the pool water level is unusually low, check for any damage to the vinyl pool liner along the water level. If you find any damage, now is the time to repair it.
Equipment such as the skimmer can crack over winter if the water freezes and an ice compensator, freeze plug or Gizzmo wasn’t used. If you do live in a climate that freezes, we highly recommend using a Gizzmo as part of winterizing your pool. Ensure you check the skimmer for cracks and replace it if cracks or damage is found.
Step 4. Remove Winter Plugs And Winterizing Aids
Go ahead and remove all the plugs from the openings including the skimmer basket and return jets, which are also called eyeball fittings.
Winterizing equipment should also be removed from the swimming pool, such as any freeze plug or Gizzmo, Air Pillow or Skimmer Plate.
Step 5. Add Water
At this point, it’s time to refill the pool with water. There should not be too much loss of water but ensure the water is at mid skimmer level and if not, simply fill it up with a hose to the correct level.
Step 6. Refit Pool Deck And Equipment
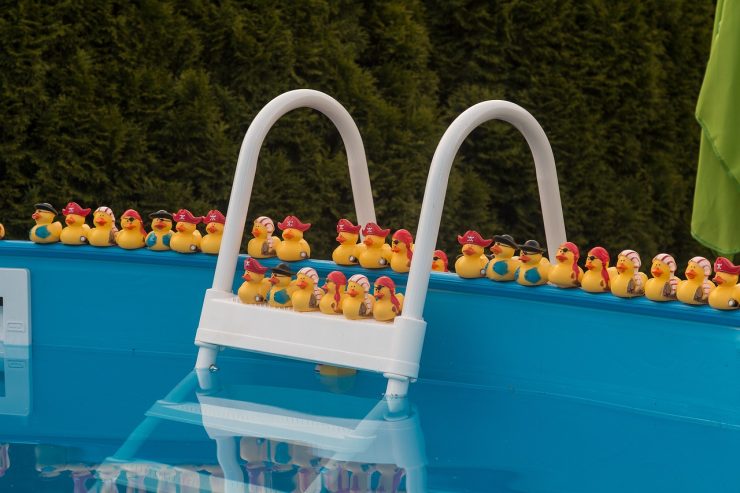
Go ahead and refit your pool deck equipment such as ladders and handrails. And anything other equipment you like to use in your above ground pool…
Step 7. Set Up Pool Equipment
Now it’s time to set up your equipment.
Firstly, if you used antifreeze when you closed your pool, then this will need to be removed from the lines at this point. Do this by setting the pool pump to waste, switching it on and allowing it to run for about a minute. Then continue with the below steps.
Remove all the winterizing plugs from the filter, pump and other equipment. This includes the gauges and drains. These plugs can then be replaced with standard plugs.
Then attach your hoses by connecting the skimmer to the pump, the pump to the pool filter and the filter to any other equipment such as a chlorinator or heater. If you have a chlorinator, connect first the heater, then the chlorinator, then to the return inlet. If there isn’t any extra equipment, connect the hose to the return inlet.
The pump’s O-ring should be checked for condition. Check for cracks and brittleness. If there are signs of deterioration, replace it, otherwise lubricate it well with a Teflon-based lubricant and refit it.
Make sure the multiport valve (if you have one) is positioned on filter.
Start the pump and filter, listening for anything unusual and check for any damage during winter.
You may discover the pump is running dry. Solve this by turning the system off and priming the pump. Do this by opening the pump and pouring water into it. Saying that, this isn’t normally a problem for above ground pools since your pump will normally be below the filter level and water should run back into the pump.
Woohoo! You have now opened up your above ground pool!
At this point, it is recommended you backwash your filter.
Step 8. Cleaning The Pool
Remove as much debris as you can with your skimmer or leaf rake.
Brush down the sides of your pool with your pool brush.
Then vacuum the pool.
You can read more on how to vacuum a pool in our article.
Step 9. Testing And Adjusting The Water Chemistry
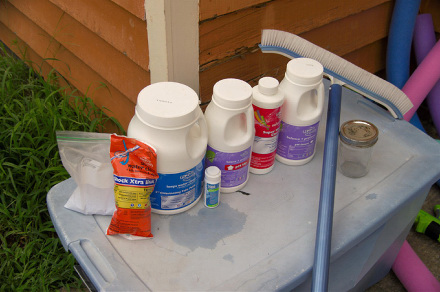
Use your pool test strips or liquid water testing kit to check the chemical levels.
You are checking here for the ideal reading of the pH (7.4-7.6), alkalinity (100-150ppm) and calcium hardness (200-275ppm).
Balance the pool water correctly.
Step 10. Shock Your Pool Water
After a winter hibernating, pool water should be shocked to properly sanitize the water.
We prefer this Pool Shock Treatment.
Remember to shock your pool in the evening so the suns rays don’t use up all the chlorine before it has had a chance to do its job properly.
Run the filter for 24 hours, retest the water to ensure the correct balance and get ready to put on your swimming trunks.
If you are unsure about how to shock your pool, you can read our article on How To Shock Your Pool here.
Conclusion
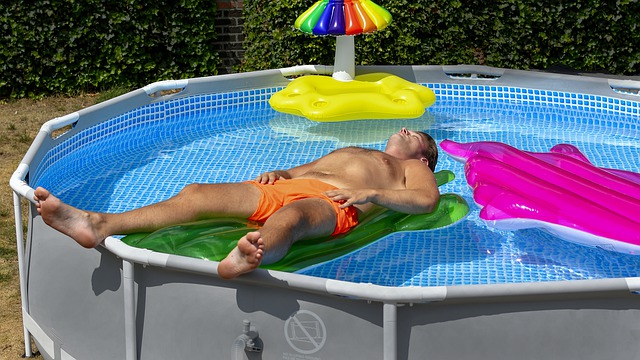
Now you have successfully opened your above ground swimming pool for the summer season. Your pool water should be crystal clear, clean and ready for the swimming season. Did you put your swimming pool trunks on? Great, now you can go relax in the pool.
Related Reading: Limestone VS Travertine For Pool Decks And Coping
Recommended Products
Gizzmo – Help prevent pool water freezing during winter.
Teflon-based Pool Lubricant – to lubricate the pumps O-ring.
Water Testing Strips or Liquid Water Testing Kit – check your water chemical balance.
Shock Treatment – ensure pool water is correctly sanitized with shock treatment.
Are you interested in reducing your pool running costs? You might like to read our article 25 Ways to Reduce Your Pool Running Costs.

